
In an increasingly industrialized and technological world, ensuring the safety and integrity of our environment and workspaces is paramount. One critical aspect of this safety is the detection and measurement of vapor presence, which can have significant implications for health, safety, and operational efficiency. Whether in manufacturing plants, chemical laboratories, or even everyday household settings, understanding the concentration and impact of various vapors is essential.
Testing for vapor presence is crucial for several reasons. Firstly, it helps in identifying potentially hazardous substances that could pose a threat to human health. Prolonged exposure to certain vapors can lead to severe health issues, including respiratory problems, neurological effects, and even cancer. By regularly monitoring and testing for these vapors, we can take proactive measures to mitigate exposure and protect the well-being of individuals.
Secondly, accurate vapor testing is vital for ensuring compliance with safety regulations and standards. Many industries are subject to strict guidelines regarding permissible exposure limits for various chemicals and compounds. Regular testing helps organizations adhere to these regulations, avoiding legal repercussions and ensuring a safe working environment for employees.
Moreover, testing for vapor presence plays a significant role in maintaining operational efficiency and product quality. In industries such as food and beverage, pharmaceuticals, and electronics, the presence of unwanted vapors can contaminate products, leading to costly recalls and damage to brand reputation. Effective vapor testing allows for early detection of contaminants, ensuring that products meet quality standards and are safe for consumer use.
Finally, understanding vapor presence is crucial for environmental protection. Industrial activities can release harmful vapors into the atmosphere, contributing to air pollution and environmental degradation. By monitoring vapor emissions, companies can implement better control measures, reduce their environmental footprint, and contribute to sustainable practices.
In conclusion, testing for vapor presence is not merely a regulatory requirement; it is a fundamental practice for safeguarding health, ensuring compliance, maintaining product quality, and protecting the environment. As we continue to advance technologically, the importance of robust vapor testing protocols will only grow, underscoring the need for ongoing vigilance and innovation in this critical field.
Preparing the Area
Cleaning and Drying the Surface
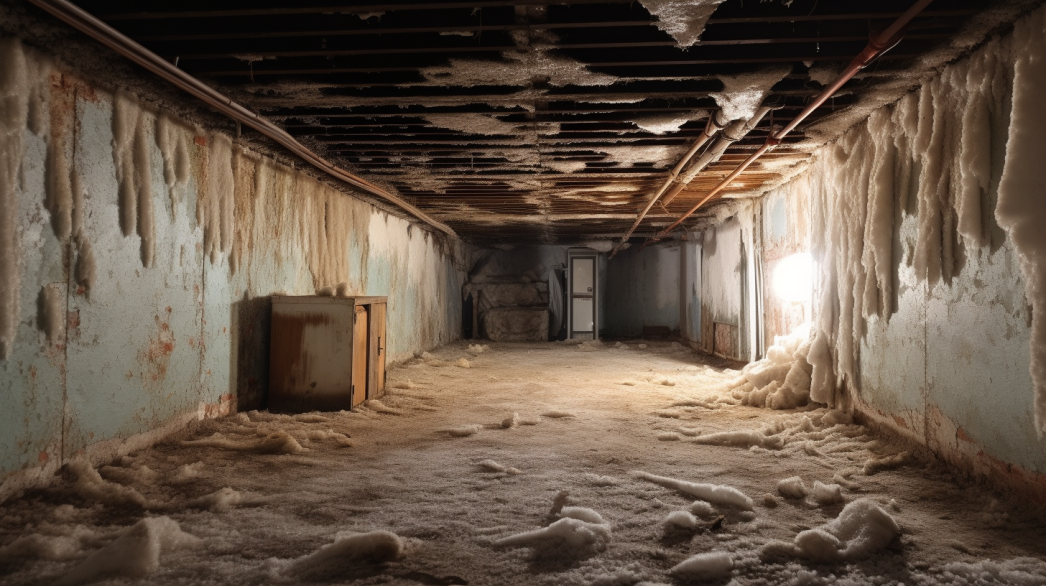
Proper preparation of the installation area is essential for ensuring the effectiveness and longevity of your vapor barrier. A clean and dry surface helps to maximize the adhesion and performance of the barrier, preventing future issues related to moisture infiltration.
Importance of a clean and dry installation area:
- Optimal Adhesion: Dirt, dust, and debris can interfere with the adhesive properties of tapes and sealants used in vapor barrier installation. Ensuring the surface is clean allows these materials to bond effectively, creating a stronger and more reliable seal.
- Moisture Prevention: Any existing moisture on the surface can become trapped behind the vapor barrier, leading to mold and mildew growth. A dry surface ensures that the vapor barrier can perform its primary function of moisture control without pre-existing dampness compromising its effectiveness.
- Surface Integrity: Cleaning the surface also helps identify and address any underlying issues such as cracks, holes, or areas of damage that need repair before the vapor barrier can be installed. This preparation step ensures a smooth and solid foundation for the barrier.
Steps to clean and dry the surface:
- Remove Old Materials: Start by removing any old materials, such as previous vapor barriers, insulation, or wall coverings. This ensures that you are working with a fresh surface.
- Clean Thoroughly: Use a vacuum or a damp cloth to remove dust and debris from the walls. For stubborn dirt or grime, a mild detergent solution can be used. Make sure to rinse off any soap residue with clean water.
- Dry Completely: Allow the surface to dry completely before proceeding with the installation. Use fans or a dehumidifier to speed up the drying process if necessary, especially in high-humidity areas like bathrooms.
Choosing the Right Vapor Barrier
Selecting the appropriate vapor barrier for your specific application is essential for effective moisture control. Factors such as material, thickness, and permeability must be considered to ensure the vapor barrier meets the demands of the environment.
Factors to consider (material, thickness, permeability):
Material: Different materials offer varying levels of protection and suitability for different environments. Common vapor barrier materials include:
- Plastic Sheeting: Typically made from polyethylene, plastic sheeting is versatile and durable, making it suitable for a wide range of applications, including shower walls.
- Foil-Backed Drywall: This material combines the benefits of drywall with an integrated vapor barrier, providing both structural support and moisture resistance.
- Vapor-Retardant Paint: Ideal for retrofitting and renovations, vapor-retardant paint can be applied directly to existing surfaces to provide an additional layer of moisture protection.
- Thickness: The thickness of the vapor barrier affects its durability and resistance to moisture. Thicker materials generally provide better protection but may be more challenging to install in tight spaces. Common thicknesses range from 6 to 10 mils (thousandths of an inch) for plastic sheeting.
- Permeability: Permeability, measured in perms, indicates how easily water vapor can pass through the material. Lower perm ratings indicate better moisture resistance. Choose a vapor barrier with a low perm rating for high-humidity areas to ensure effective moisture control.
Selecting the right vapor barrier:
- Climate Considerations: In cold climates, a vapor barrier on the warm side of the wall prevents indoor moisture from reaching cold exterior walls, where it can condense. In warm climates, it prevents outdoor humidity from entering the cooler indoor environment.
- Building Type: The type of building and its usage also influence the choice of vapor barrier. For example, bathrooms and kitchens in residential buildings require robust moisture control due to high humidity levels.
By thoroughly cleaning and drying the surface and carefully selecting the right vapor barrier, you can ensure a successful installation that provides long-lasting protection against moisture. These preparatory steps are critical to achieving an effective vapor barrier that enhances the durability and energy efficiency of your home.
Preparing for Testing
Gathering Necessary Tools
To accurately test for vapor presence, it's essential to gather the appropriate tools that will ensure precise measurements and effective testing procedures. Here are the key tools you will need:
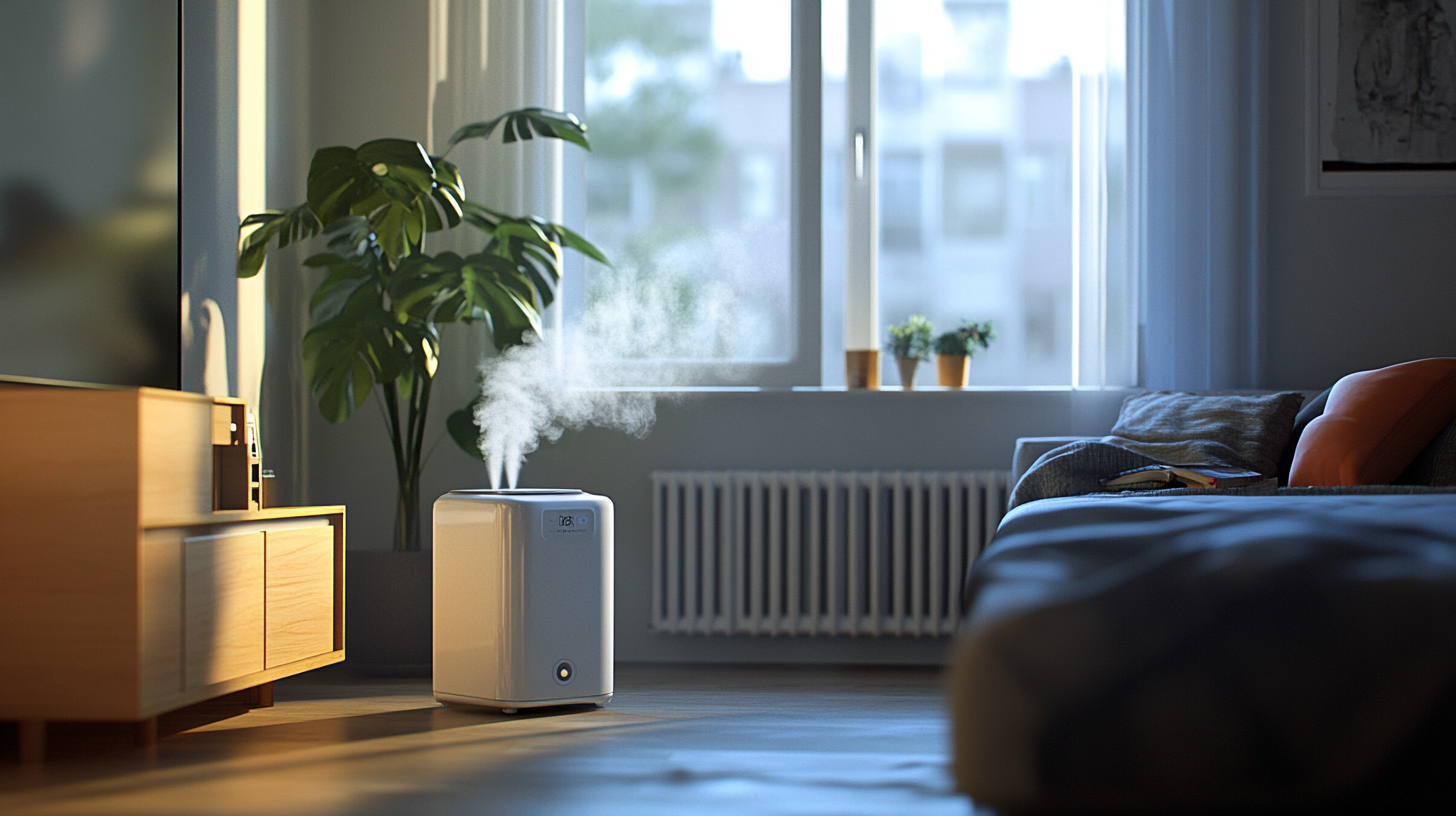
- Hygrometer: This instrument is crucial for measuring the humidity levels in the air. By providing real-time data on the moisture content in the environment, a hygrometer helps determine if conditions are favorable for vapor testing and if additional measures are necessary to control humidity during the testing process.
- Moisture Meter: A moisture meter is used to measure the moisture content in various materials such as wood, concrete, and drywall. This tool is vital for identifying areas with high moisture levels that could indicate vapor presence or potential water damage. Different types of moisture meters, including pin-type and pinless, can be used depending on the material being tested.
- Plastic Sheets and Tape: Plastic sheets, along with adhesive tape, are used to create a controlled testing environment. They are often placed over surfaces to trap moisture and determine if vapor is seeping through the material. This simple yet effective method helps in identifying areas where vapor barriers may be needed or where existing barriers might be failing.
- Thermometer: Temperature plays a significant role in vapor behavior, as it influences the dew point and condensation rates. A thermometer is used to monitor the temperature in the testing area, helping to correlate temperature changes with humidity levels and vapor presence. Accurate temperature readings are essential for comprehensive vapor analysis.
Safety Precautions
Ensuring safety during vapor testing is paramount to protect both the tester and the integrity of the testing process. Here are essential safety precautions to follow:
- Wearing Protective Gear: Always wear appropriate protective gear when conducting vapor tests. This includes gloves, safety goggles, and respiratory protection if dealing with potentially harmful vapors or chemicals. Protective clothing can prevent skin contact with moisture or any hazardous substances present in the environment.
- Ensuring Proper Ventilation: Adequate ventilation is crucial when testing for vapor presence, especially in enclosed spaces. Proper ventilation helps dissipate any harmful vapors and maintains a safe air quality level. If natural ventilation is insufficient, consider using fans or ventilation systems to ensure a continuous flow of fresh air. This precaution not only protects the tester but also ensures accurate test results by preventing vapor accumulation.
By gathering the necessary tools and adhering to safety precautions, you can effectively prepare for vapor testing. This preparation ensures that the testing process is conducted efficiently, safely, and accurately, providing reliable data for assessing vapor presence and taking appropriate corrective actions.
Hygrometer Method
Using a Hygrometer
A hygrometer is an essential tool for measuring humidity levels in the air, providing valuable data to assess vapor presence in a given area. Here's how to effectively use a hygrometer for your vapor testing needs:
Placing the Hygrometer in the Testing Area:
- Select the appropriate location within the testing area to place the hygrometer. Ensure it is positioned at a height and location where it can accurately measure the air humidity, avoiding direct exposure to sunlight, drafts, or any sources of moisture that could skew the readings.
- Place the hygrometer away from walls and corners to ensure it measures the general air humidity rather than localized conditions that may not represent the entire area.
Recording Humidity Levels Over Time:
- Turn on the hygrometer and allow it to stabilize, which usually takes a few minutes. This initial period ensures that the device is acclimated to the testing environment.
- Record the humidity levels at regular intervals to monitor changes over time. Consistent monitoring is crucial as humidity levels can fluctuate due to various factors such as temperature changes, ventilation, and occupancy.
- Keep a detailed log of the humidity readings, noting the time and any relevant environmental conditions. This data will help identify patterns and determine if there are specific times or conditions that lead to higher humidity levels.
Interpreting Results
Interpreting the data collected by the hygrometer is critical for understanding the vapor presence and taking necessary actions. Here are the key aspects to consider:
Ideal Humidity Levels:
- For most indoor environments, the ideal relative humidity level ranges from 30% to 50%. This range helps maintain comfort and prevent issues related to both excessive dryness and moisture.
- In specific environments such as storage areas for sensitive materials or laboratories, the ideal humidity levels may vary. Always refer to industry standards and guidelines relevant to your specific context.
Signs of Excessive Vapor Presence:
- Consistently high humidity levels, particularly readings above 60%, indicate excessive vapor presence. This can lead to problems such as mold growth, condensation, and structural damage.
- Look for patterns in your data that correlate with environmental changes. For example, spikes in humidity during certain times of the day or in specific conditions can help pinpoint sources of vapor.
- In addition to the hygrometer readings, observe physical signs of excessive vapor such as musty odors, visible mold, or damp spots on walls and ceilings. These signs corroborate the data and provide a more comprehensive understanding of the vapor issue.
By accurately using a hygrometer and carefully interpreting the results, you can effectively monitor and manage vapor presence in your environment. This process not only helps maintain optimal humidity levels but also protects the integrity of the building and the health of its occupants.
Moisture Meter Method
Using a Moisture Meter
A moisture meter is an invaluable tool for detecting and measuring moisture levels within various materials such as wood, concrete, and drywall. Proper use of a moisture meter can help identify potential problems before they escalate into significant issues. Here’s how to effectively use a moisture meter:
Calibrating the Device:
- Before taking any measurements, it's essential to calibrate the moisture meter to ensure accurate readings. Refer to the manufacturer’s instructions for specific calibration procedures, as they can vary between devices.
- Typically, calibration involves setting the meter to a known moisture level or using a calibration block provided with the device. This step ensures the readings you take are reliable and accurate.
Taking Measurements at Various Points:
- Identify the key areas where moisture testing is necessary. This often includes areas prone to moisture accumulation such as basements, bathrooms, around windows, and near plumbing fixtures.
- Press the meter’s probes or sensor pads firmly against the material you are testing. Ensure full contact for the most accurate measurement.
- Take multiple readings at different points across the testing area. This helps to get a comprehensive view of the moisture distribution and identify any localized issues.
- Record each reading, noting the location and the material tested. Consistent documentation aids in analyzing patterns and changes over time.
Analyzing the Data
Interpreting the data collected by the moisture meter is crucial for understanding the extent and implications of moisture presence. Here’s how to analyze and make sense of the data:
Understanding Moisture Content Levels:
- Moisture content levels can vary depending on the material. For instance, acceptable moisture levels in wood generally range from 6% to 12%, whereas concrete may have higher acceptable levels.
- Refer to industry standards and guidelines for the specific materials you are testing to determine the acceptable moisture ranges.
- High moisture readings indicate that the material contains more water than it should, which can lead to issues like mold growth, structural damage, and material degradation.
Identifying Areas of Concern:
- Compare the moisture readings from different locations. Areas with significantly higher readings than others are likely to be problem areas requiring further investigation.
- Look for patterns in the moisture distribution. For example, higher readings near windows or plumbing fixtures could indicate leaks or poor sealing.
- Combine moisture meter data with visual inspections. Signs such as discoloration, warping, or mold growth corroborate high moisture readings and help pinpoint the source of the problem.
By using a moisture meter effectively and thoroughly analyzing the data, you can identify and address moisture issues before they cause significant damage. This proactive approach ensures the longevity and integrity of the building materials and helps maintain a safe and healthy environment.
Plastic Sheet Test
Setting Up the Test
The plastic sheet test is a simple yet effective method to detect moisture presence in various building materials. This test helps identify areas where vapor barriers may be needed or where existing barriers might be failing. Here’s how to set up the plastic sheet test:
Attaching Plastic Sheets to the Surface with Tape:
- Start by selecting the areas where you suspect moisture presence. Common areas include basements, floors, and walls, particularly near water sources or in spaces with high humidity.
- Cut a piece of clear plastic sheeting, typically 2 feet by 2 feet, ensuring it is large enough to provide a clear indication of moisture but manageable to handle.
- Use high-quality adhesive tape, such as duct tape or waterproof tape, to attach the plastic sheet to the surface. Apply the tape along all edges of the plastic sheet to secure it firmly to the material being tested.
Ensuring a Tight Seal:
- Make sure the plastic sheet is completely sealed around the edges to prevent air from entering or escaping. This airtight seal is crucial for accurate results, as it isolates the area under the plastic, allowing you to detect moisture without external interference.
- Press down firmly on the taped edges to ensure the seal is tight and no gaps remain. Any gaps could compromise the test by allowing external humidity to affect the results.
Observing the Results
After setting up the plastic sheet test, the next step is to observe the results to determine the presence of moisture. Here’s how to proceed:
Checking for Condensation Under the Plastic:
- Leave the plastic sheet in place for a period of 24 to 48 hours. This duration allows enough time for any moisture present in the material to accumulate and become visible.
- After the waiting period, carefully inspect the underside of the plastic sheet for signs of condensation. Condensation indicates that moisture is being released from the material into the trapped air under the plastic.
- Also, check the surface of the material directly under the plastic sheet. If the material feels damp or shows signs of moisture, it confirms the presence of vapor.
Duration of the Test (24-48 Hours):
- The recommended duration for the plastic sheet test is between 24 to 48 hours. This time frame is sufficient to detect moisture in most building materials.
- For materials with higher density or in cooler environments, extending the test duration closer to 48 hours can provide more reliable results.
- Record the results after the test duration, noting the presence or absence of condensation and any other observations about the material’s condition.
By properly setting up the plastic sheet test and carefully observing the results, you can effectively detect the presence of moisture in building materials. This information is crucial for determining whether vapor barriers are needed or if existing barriers are functioning correctly, ultimately helping to maintain the structural integrity and safety of buildings.
FAQs
Contact Crawl Logic Today!
Crawl Logic will do everything we can to ensure your experience with us is excellent.
Request A FREE Estimate
CHECKOUT RECENT POST


Schedule Your FREE Crawl Space Evaluation!
Did you know YOU DON'T HAVE TO BE HOME for us to provide you with your 100% FREE crawl space inspection and report?
CHOOSE THE BEST OPTION, CRAWL LOGIC!
Ready to Elevate Your Experience? Let's embark on a journey to success together! Our team is dedicated to delivering excellence and innovation tailored to your unique needs. Connect with us now to discover how our services can transform your vision into reality. Your next big leap starts here
Crawl Logic - Franklin Crawl Space Encapsulation and Repair
COMPANY INFO
Address: Franklin, Tennessee, United States
Email:
joshuamaynor1988@gmail.com
Phone: 615-257-9772
Office: 615-540-2278
HOURS
Monday: 8:00AM - 5:00PM
Tuesday: 8:00AM - 5:00PM
Wednesday: 8:00AM - 5:00PM
Thursday: 8:00AM - 5:00PM
Friday: 8:00AM - 5:00PM
Saturday: CLOSED
Sunday: CLOSED
Copyright © 2020 Crawl Logic - Franklin Crawl Space Encapsulation and Repair