
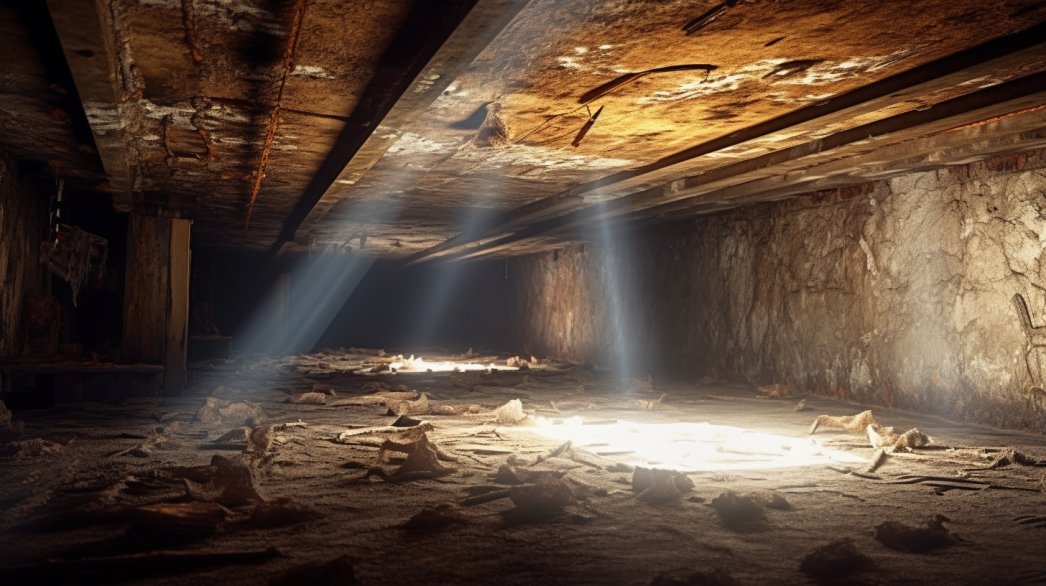
The bathroom is one of the most frequently used spaces in any home, subjected daily to high levels of moisture, humidity, and temperature fluctuations. These conditions can significantly impact the durability and integrity of bathroom structures, leading to issues such as mold growth, water damage, and structural deterioration. Enhancing the longevity of bathroom structures is not just about maintaining aesthetics; it's about ensuring the safety, functionality, and value of your home.
To achieve this, it's crucial to implement proper moisture control measures and use materials designed to withstand the unique environmental challenges of a bathroom. This involves a combination of strategic planning, high-quality materials, and regular maintenance.
One key aspect of prolonging the life of bathroom structures is effective waterproofing. Proper installation of waterproof membranes, vapor barriers, and sealants can prevent water from seeping into walls, floors, and fixtures, thereby reducing the risk of mold and rot. Additionally, selecting moisture-resistant materials for surfaces, such as tiles, grout, and caulking, can further enhance durability.
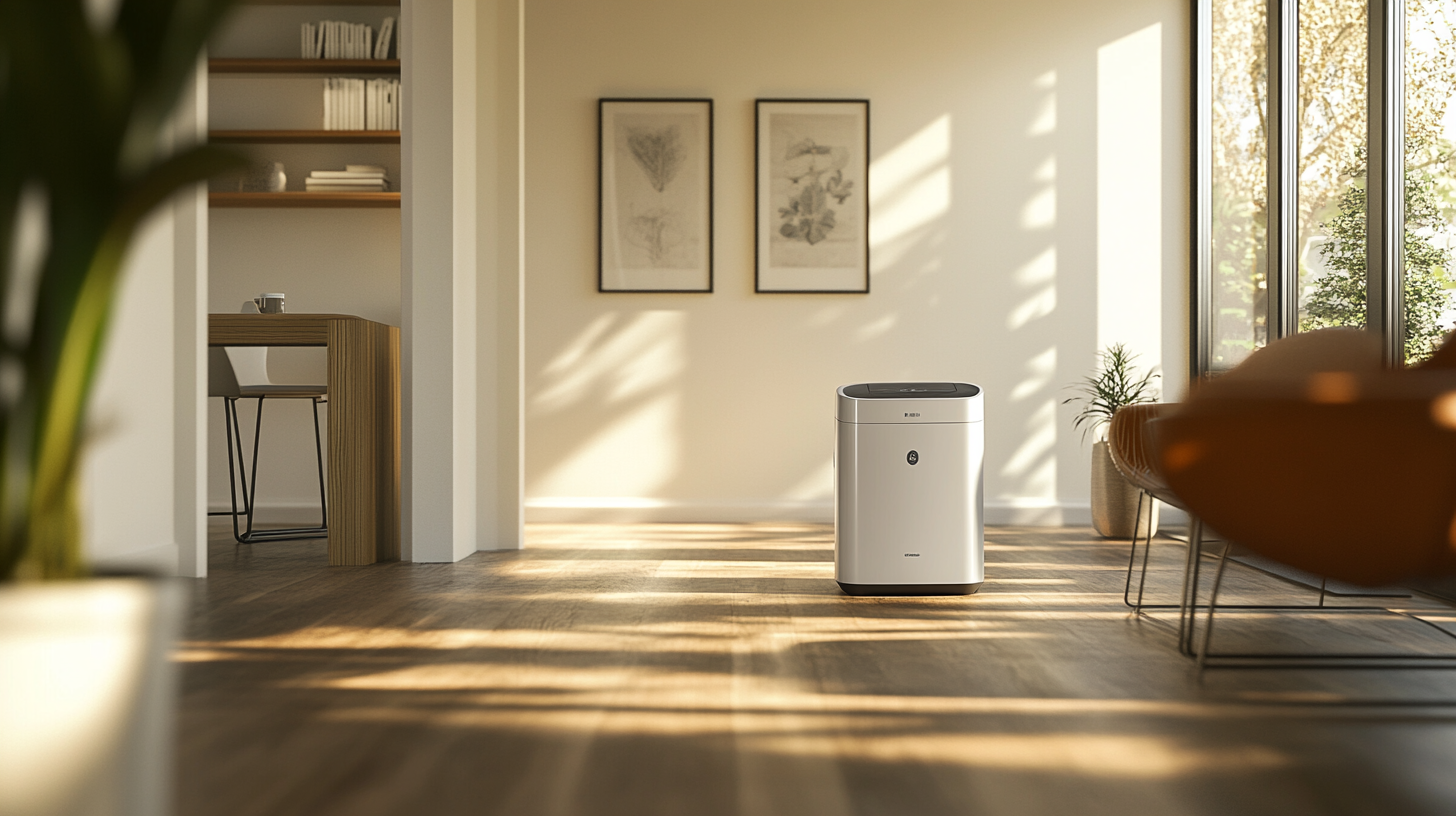
Ventilation also plays a vital role in maintaining a dry and healthy bathroom environment. Installing a high-quality exhaust fan and ensuring proper air circulation can significantly reduce humidity levels, preventing condensation buildup that can damage structures over time.
Regular maintenance and timely repairs are equally important. Routine inspections can help identify and address minor issues before they become major problems. Fixing leaks, reapplying sealants, and cleaning ventilation systems are simple yet effective ways to protect your bathroom structures.
By understanding and implementing these strategies, homeowners can enhance the longevity of their bathroom structures, ensuring they remain functional, safe, and visually appealing for years to come. Investing in proper moisture control, durable materials, and regular upkeep is not only cost-effective in the long run but also essential for maintaining the overall health and value of your home.
What is a Vapor Barrier?
Definition and Purpose
A vapor barrier is a specialized material designed to prevent moisture from penetrating building assemblies. It acts as a shield, blocking the movement of water vapor and preventing it from entering walls, floors, and ceilings. This is particularly important in areas with high humidity, such as bathrooms, where excessive moisture can lead to a range of problems including mold growth, structural damage, and decreased indoor air quality. By effectively controlling moisture levels, vapor barriers help maintain the structural integrity and longevity of buildings, ensuring a safe and healthy environment for occupants.
Vapor barriers are an essential component in construction and renovation projects, especially in climates or areas where humidity is a constant challenge. They help to protect insulation and other building materials from moisture damage, ensuring that buildings remain energy-efficient and structurally sound. Additionally, by preventing moisture accumulation, vapor barriers contribute to creating a comfortable indoor environment, free from the musty odors and health risks associated with mold and mildew.
Types of Vapor Barriers
Plastic Sheeting:
- Description: Plastic sheeting, typically made from polyethylene, is one of the most common and versatile types of vapor barriers. It is available in various thicknesses, with thicker sheets providing greater resistance to moisture.
- Uses: This type of vapor barrier is often used in basements, crawl spaces, and under concrete slabs to prevent ground moisture from entering the building. It can also be applied to walls and ceilings in high-humidity areas.
- Advantages: Plastic sheeting is durable, flexible, and relatively easy to install. It provides an effective moisture barrier that is suitable for a wide range of applications.
Foil-Backed Drywall:
- Description: Foil-backed drywall incorporates a layer of aluminum foil on the back side, serving as both a vapor barrier and a reflective insulation layer.
- Uses: Commonly used in walls and ceilings, foil-backed drywall is particularly effective in controlling moisture in areas prone to high humidity, such as bathrooms and kitchens.
- Advantages: This type of vapor barrier is easy to install during the construction or renovation process and provides the added benefit of enhanced thermal insulation, which can improve energy efficiency.
Vapor-Retardant Paint:
- Description: Vapor-retardant paint is a specialized coating designed to reduce the permeability of walls and ceilings to water vapor. It is applied like regular paint but provides an additional layer of moisture protection.
- Uses: This type of vapor barrier is ideal for existing buildings where traditional barriers may be difficult to install. It can be applied over existing finishes, making it an excellent option for retrofitting and renovations.
- Advantages: Vapor-retardant paint is a cost-effective solution that can be easily applied to various surfaces. It helps to control moisture levels without the need for extensive construction work.
By understanding the different types of vapor barriers and their applications, homeowners and builders can choose the most suitable option for their specific needs. Proper selection and installation of vapor barriers are crucial for maintaining a dry, healthy, and energy-efficient indoor environment.
Pre-Installation Preparations
Gathering Necessary Tools and Materials
Before installing a vapor barrier, it is crucial to gather all the necessary tools and materials to ensure a smooth and efficient process. Having everything ready and organized will help you avoid interruptions and complete the installation effectively. Here are the essential items you will need:
Vapor Barrier Material:
- Description: Choose the appropriate vapor barrier material based on your specific needs and the area where it will be installed. Options include plastic sheeting, foil-backed drywall, or vapor-retardant paint.
- Purpose: The vapor barrier material will prevent moisture from penetrating the walls, floors, and ceilings, protecting the bathroom structure from water damage and mold growth.
Utility Knife, Tape Measure, Staple Gun:
- Utility Knife: Used for cutting the vapor barrier material to the required size.
- Tape Measure: Essential for measuring the area accurately to ensure the vapor barrier fits perfectly.
- Staple Gun: Used to secure the vapor barrier material to the framing of walls, floors, and ceilings.
Caulk and Caulk Gun:
- Description: Caulk and a caulk gun are used to seal any gaps or seams where the vapor barrier material meets other surfaces.
- Purpose: Sealing these gaps ensures that there are no leaks or points of entry for moisture, providing a continuous and effective barrier.
Protective Gear:
- Description: Protective gear includes gloves, safety goggles, and a mask.
- Purpose: Wearing protective gear ensures your safety during the installation process, especially when dealing with potentially hazardous materials or tools.
Assessing the Bathroom Environment
Proper assessment of the bathroom environment is a crucial step before installing a vapor barrier. This helps identify any existing issues that need to be addressed and ensures that the environment is suitable for the installation. Here’s how to assess the bathroom environment:
Checking for Existing Moisture Issues:
- Inspection: Carefully inspect the bathroom for any signs of existing moisture problems, such as mold, mildew, water stains, or damp spots. Pay particular attention to areas around plumbing fixtures, windows, and corners where moisture is likely to accumulate.
- Testing: Use a moisture meter to measure the moisture levels in walls, floors, and ceilings. High moisture readings indicate areas that need to be dried out and treated before installing the vapor barrier.
- Remediation: Address any existing moisture issues by repairing leaks, replacing damaged materials, and thoroughly drying the affected areas. This step is essential to prevent trapping moisture behind the vapor barrier, which can lead to further damage.
Ensuring Proper Ventilation:
- Ventilation Systems: Check that the bathroom has an adequate ventilation system, such as an exhaust fan, to help control humidity levels and prevent moisture buildup. Ensure that the fan is functioning correctly and vents to the outside.
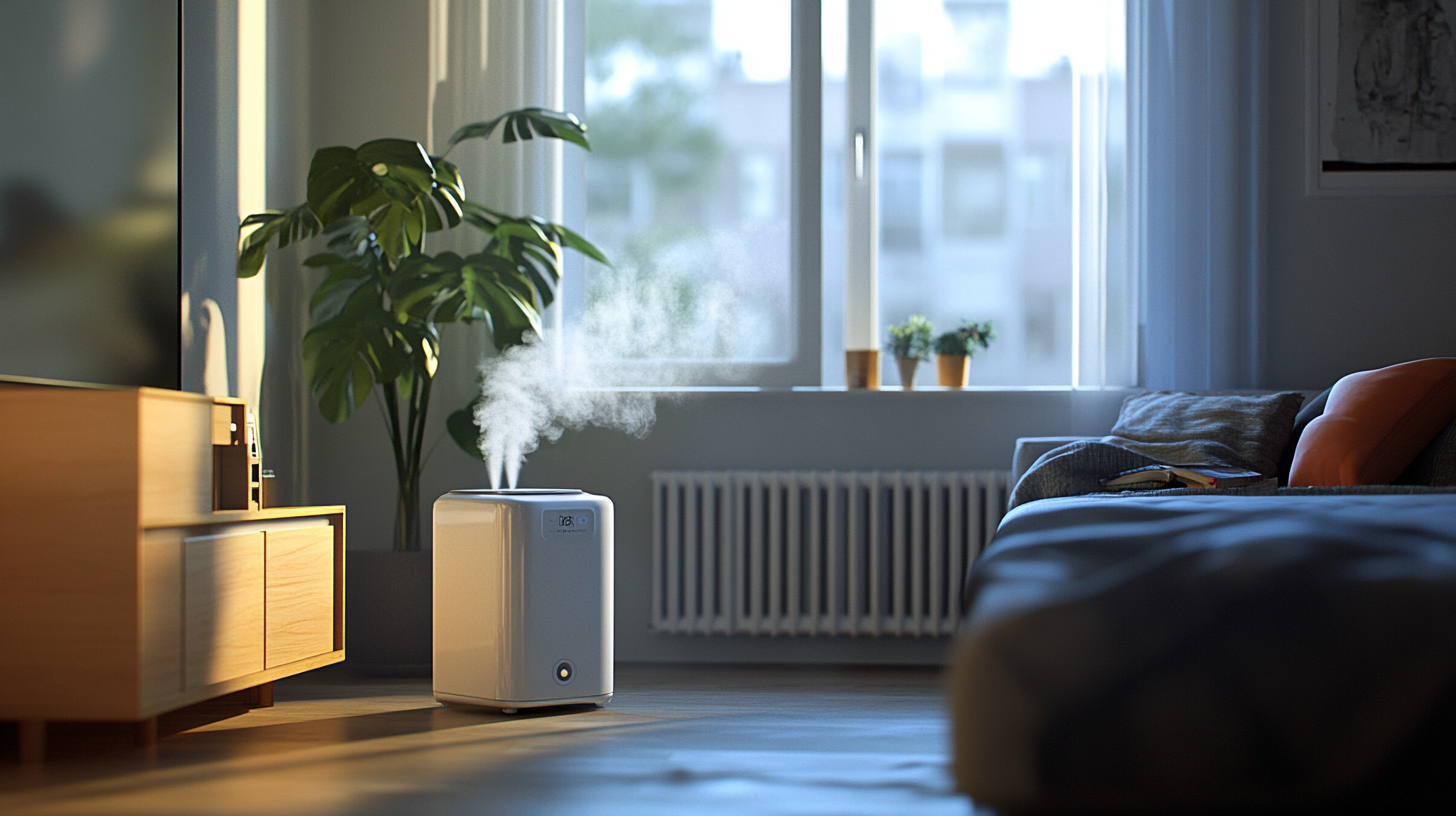
- Air Circulation: Ensure there is proper air circulation in the bathroom. If necessary, consider adding additional ventilation options or improving existing ones to maintain a dry environment.
- Maintenance: Regularly clean and maintain the ventilation system to ensure it continues to operate efficiently. This includes cleaning vents, replacing filters, and checking for any obstructions.
By gathering the necessary tools and materials and thoroughly assessing the bathroom environment, you can ensure a successful vapor barrier installation. These preparations help create a moisture-resistant barrier that protects the bathroom structure, enhancing its durability and longevity.
Step-by-Step Guide
Step 1: Measuring and Cutting the Vapor Barrier
Taking accurate measurements of the walls and ceiling:
- Begin by measuring the height and width of each wall, as well as the dimensions of the ceiling. Use a tape measure to obtain precise measurements, ensuring you account for any alcoves, windows, or other architectural features.
- Record the measurements on paper, marking each dimension clearly. Accurate measurements are crucial for ensuring that the vapor barrier fits perfectly and provides complete coverage.
Cutting the vapor barrier to fit the space:
- Lay out the vapor barrier material, such as plastic sheeting, on a clean, flat surface. Use a utility knife to cut the material according to the measurements you recorded.
- Ensure you cut the vapor barrier slightly larger than the measured dimensions to allow for overlap at the seams and edges. This overlap helps create a more effective barrier against moisture.
Step 2: Preparing the Surface
Cleaning and drying the surfaces:
- Thoroughly clean the walls and ceiling where the vapor barrier will be applied. Remove any dirt, dust, or grease using a suitable cleaning agent. A clean surface ensures better adhesion and effectiveness of the vapor barrier.
- Allow the surfaces to dry completely before proceeding. Moisture or dampness can compromise the effectiveness of the vapor barrier and lead to mold growth.
Repairing any cracks or damage:
- Inspect the walls and ceiling for any cracks, holes, or damage. Use appropriate materials, such as spackling compound or filler, to repair these areas. Smooth the repairs with sandpaper to create a flat, even surface.
- Address any structural issues before installing the vapor barrier to ensure a stable and secure foundation.
Step 3: Applying the Vapor Barrier
Installing Plastic Sheeting
Attaching the plastic sheeting with a staple gun:
- Start by attaching the top edge of the plastic sheeting to the top of the wall or ceiling using a staple gun. Ensure the plastic is taut and smooth as you staple it in place.
- Work your way down, adding staples at regular intervals to secure the sheeting. Ensure there are no wrinkles or gaps in the material.
Ensuring a tight seal around edges and corners:
- Carefully fold and secure the plastic sheeting around corners, making sure it fits snugly. Use additional staples or tape to ensure a tight seal.
- Overlap adjacent sheets of plastic by at least six inches and seal the seams with waterproof tape to prevent moisture from seeping through.
Using Foil-Backed Drywall
Installing the drywall as usual:
- Install the foil-backed drywall following standard drywall installation procedures. Ensure the foil side faces inward, acting as the vapor barrier.
- Use drywall screws to secure the sheets to the wall studs, ensuring the screws are flush with the surface.
Sealing seams with appropriate tape:
- Seal the seams between drywall sheets with foil tape or other vapor-retardant tape. This step is crucial to maintain the integrity of the vapor barrier and prevent moisture penetration.
- Press the tape firmly into place, ensuring there are no gaps or bubbles.
Applying Vapor-Retardant Paint
Priming the surface if necessary:
- If the surface is porous or uneven, apply a primer before the vapor-retardant paint. This helps create a smooth, uniform base for the paint and enhances its effectiveness.
- Allow the primer to dry completely according to the manufacturer’s instructions.
Applying multiple coats for effectiveness:
- Apply the first coat of vapor-retardant paint using a brush or roller. Ensure even coverage across the entire surface.
- Allow the first coat to dry completely, then apply additional coats as recommended by the manufacturer. Multiple coats provide better moisture resistance and durability.
Step 4: Sealing the Edges
Using caulk to seal around windows, doors, and other penetrations:
- Apply a bead of caulk around the edges of windows, doors, and any other penetrations, such as plumbing or electrical outlets. Use a caulk gun for precise application.
- Smooth the caulk with a caulking tool or your finger to ensure it fills all gaps and adheres well to the surfaces.
Ensuring no gaps remain:
- Inspect all edges and seams to ensure there are no gaps where moisture could penetrate. Reapply caulk or tape as necessary to achieve a continuous, airtight seal.
- Regularly check and maintain these seals to ensure the long-term effectiveness of the vapor barrier.
By following this step-by-step guide, you can effectively install a vapor barrier that protects your bathroom structures from moisture damage, enhances their durability, and maintains a healthy indoor environment.
Expert Tips for a Successful Installation
Ensuring a Tight Seal
Creating a tight seal is essential for the effectiveness of a vapor barrier. Any gaps or loose areas can allow moisture to penetrate, undermining the barrier’s purpose and potentially causing damage. Here are some expert tips to ensure a tight seal:
Double-checking for gaps or loose areas:
- After installing the vapor barrier material, thoroughly inspect all edges, seams, and joints. Look for any visible gaps or areas where the material is not securely fastened.
- Pay special attention to corners, around fixtures, and along edges where the vapor barrier meets other materials. These areas are often prone to gaps.
Using high-quality tape and caulk:
- Invest in high-quality waterproof tape and caulk specifically designed for vapor barriers. These materials provide a stronger and more durable seal.
- Apply tape to all seams where sheets of vapor barrier overlap, pressing firmly to ensure a tight bond. Use caulk to seal edges around windows, doors, and other penetrations, smoothing it to eliminate gaps and ensure a continuous barrier.
Working in Small Sections
Handling large sheets of vapor barrier material can be challenging and may result in wrinkles or air pockets, which can compromise the barrier's effectiveness. Working in small, manageable sections can make the installation process smoother and more effective:
Handling the vapor barrier in manageable pieces:
- Cut the vapor barrier material into smaller sections that are easier to handle. This approach reduces the risk of errors and makes it easier to achieve a tight fit.
- Focus on one section at a time, ensuring each piece is properly secured and sealed before moving on to the next. This methodical approach helps maintain control and precision during installation.
Reducing the risk of wrinkles and air pockets:
- Smooth out each section of the vapor barrier as you install it, using a tool like a squeegee or your hands to eliminate wrinkles and air pockets.
- Work from the center of the section outward, ensuring the material is taut and flat against the surface. Proper smoothing techniques help prevent imperfections that can allow moisture to penetrate.
Maintaining Proper Ventilation
Proper ventilation is crucial during and after the installation of a vapor barrier to ensure a healthy indoor environment and prevent moisture buildup. Here’s how to maintain proper ventilation:
Installing or upgrading exhaust fans:
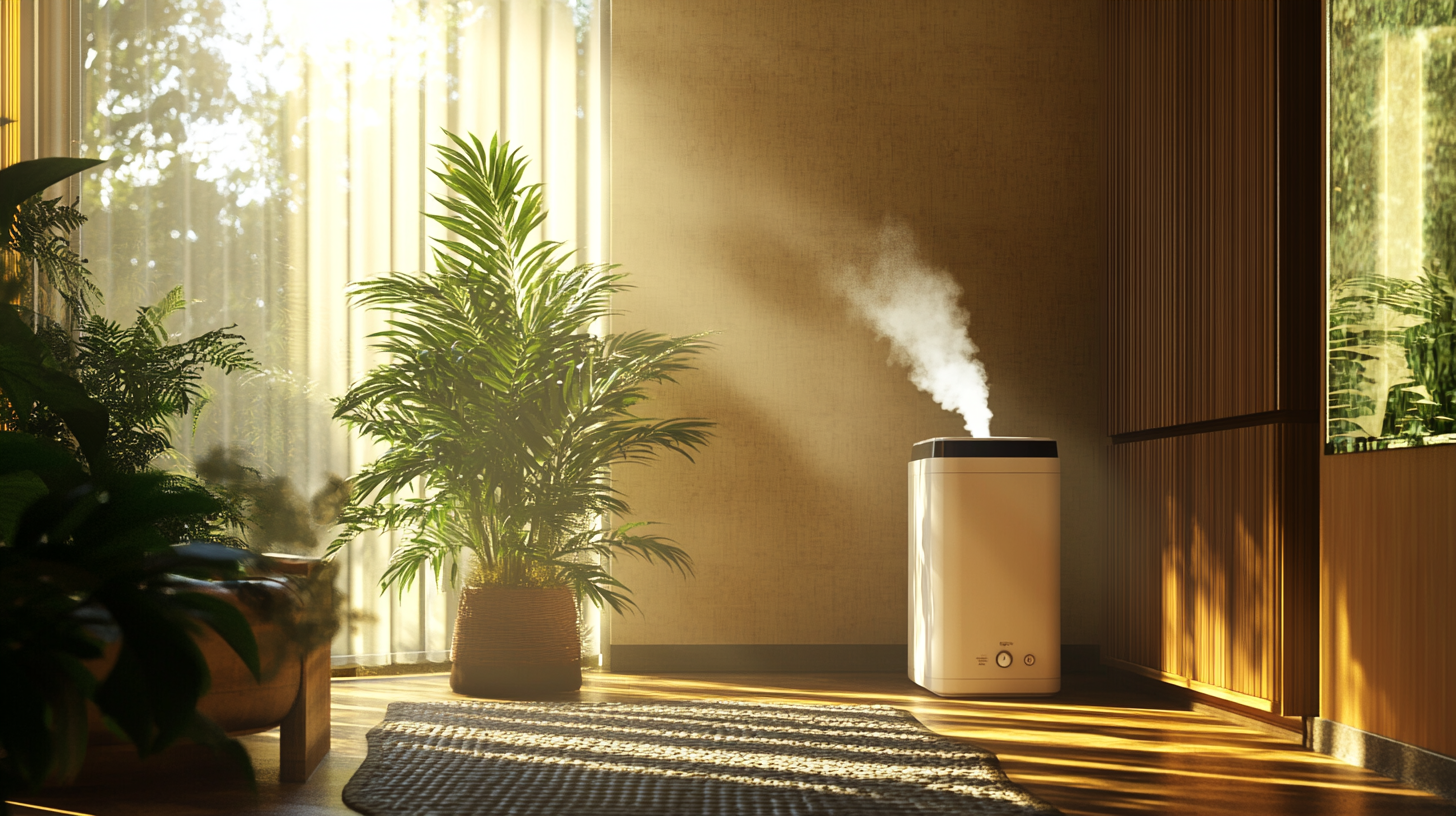
- If your bathroom does not have an exhaust fan, consider installing one to help control humidity levels. An exhaust fan helps remove moist air, reducing the risk of condensation and mold growth.
- If an exhaust fan is already installed, ensure it is in good working condition. Upgrading to a more powerful or efficient model can improve ventilation, especially in bathrooms with high humidity levels.
Keeping windows open during the installation process:
- During the vapor barrier installation, keep windows open to promote air circulation. This helps to dissipate any moisture that may be present and maintains a comfortable working environment.
- Use portable fans to enhance airflow if natural ventilation is insufficient. Good ventilation during installation ensures that any residual moisture is quickly removed, preventing it from becoming trapped behind the vapor barrier.
By following these expert tips, you can ensure a successful vapor barrier installation that effectively protects your bathroom structures from moisture damage. A tight seal, methodical working process, and proper ventilation are key components in achieving a durable and effective vapor barrier.
Avoiding Common Pitfalls
Overlapping Seams Incorrectly
One of the most common mistakes during vapor barrier installation is improperly overlapping seams. Incorrect seam overlap can lead to leaks and reduce the effectiveness of the vapor barrier. Here’s how to avoid this pitfall:
Properly overlapping and sealing seams to prevent leaks:
- Overlap Guidelines: Ensure that adjacent sheets of vapor barrier material overlap by at least 6 inches. This overlap helps create a continuous barrier that prevents moisture from seeping through the seams.
- Sealing the Seams: Use high-quality waterproof tape to seal the overlapped seams. Press the tape firmly into place, ensuring there are no gaps or bubbles. Smooth the tape with a squeegee or similar tool to ensure a tight bond.
- Double Checking: After sealing, inspect the seams to ensure they are fully adhered and there are no loose edges. Properly sealed seams are crucial for maintaining the integrity of the vapor barrier.
Neglecting Ventilation
Neglecting ventilation during and after the installation of a vapor barrier can lead to moisture buildup, which can cause mold growth and structural damage. Here’s why ventilation is crucial and how to maintain it:
Importance of maintaining good airflow to reduce moisture buildup:
- Ventilation Systems: Ensure the bathroom is equipped with a functional exhaust fan to remove moist air. If an exhaust fan is not installed, consider adding one to enhance air circulation and humidity control.
- Natural Ventilation: Keep windows open during the installation process to promote natural ventilation. Fresh air helps to dissipate any moisture present and maintains a dry environment.
- Continuous Operation: Run the exhaust fan during and after showers and baths to keep humidity levels in check. Regular use of the exhaust fan helps to prevent moisture accumulation and maintain a healthy indoor environment.
Using Incompatible Materials
Using materials that are not compatible or suitable for bathroom environments can compromise the effectiveness of the vapor barrier and lead to long-term issues. Here’s how to ensure all materials used are appropriate:
Ensuring all materials used are compatible and suitable for bathroom environments:
- Material Selection: Choose vapor barrier materials that are specifically designed for use in high-humidity areas like bathrooms. Common options include plastic sheeting, foil-backed drywall, and vapor-retardant paint.
- Quality and Specifications: Ensure that the materials meet the required specifications for moisture resistance and durability. High-quality materials provide better protection and longevity.
- Compatibility Check: Verify that all components used in the installation, such as tape, caulk, and sealants, are compatible with the vapor barrier material. Using incompatible products can result in poor adhesion and reduced effectiveness.
By avoiding these common pitfalls, you can ensure a successful vapor barrier installation that effectively protects your bathroom structures from moisture damage. Proper seam overlapping, maintaining ventilation, and using compatible materials are essential steps in creating a durable and efficient vapor barrier system.
FAQs
Contact Crawl Logic Today!
Crawl Logic will do everything we can to ensure your experience with us is excellent.
Request A FREE Estimate
CHECKOUT RECENT POST
Schedule Your FREE Crawl Space Evaluation!
Did you know YOU DON'T HAVE TO BE HOME for us to provide you with your 100% FREE crawl space inspection and report?
CHOOSE THE BEST OPTION, CRAWL LOGIC!
Ready to Elevate Your Experience? Let's embark on a journey to success together! Our team is dedicated to delivering excellence and innovation tailored to your unique needs. Connect with us now to discover how our services can transform your vision into reality. Your next big leap starts here
Crawl Logic - Franklin Crawl Space Encapsulation and Repair
COMPANY INFO
Address: Franklin, Tennessee, United States
Email:
joshuamaynor1988@gmail.com
Phone: 615-257-9772
Office: 615-540-2278
HOURS
Monday: 8:00AM - 5:00PM
Tuesday: 8:00AM - 5:00PM
Wednesday: 8:00AM - 5:00PM
Thursday: 8:00AM - 5:00PM
Friday: 8:00AM - 5:00PM
Saturday: CLOSED
Sunday: CLOSED
Copyright © 2020 Crawl Logic - Franklin Crawl Space Encapsulation and Repair